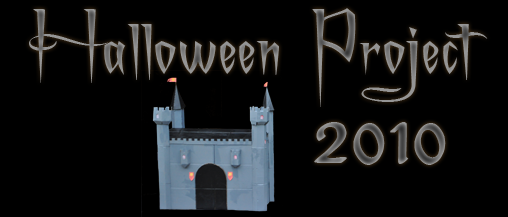
The Castle
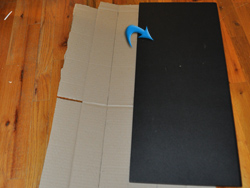
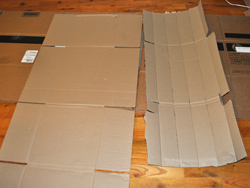
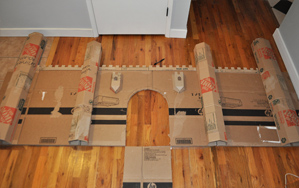
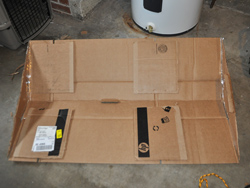
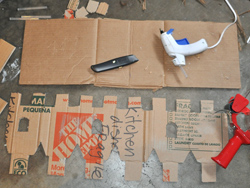
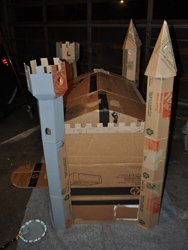
To start out, I picked out some of the nicest boxes and carefully flattened them out. Then I drew lines where I wanted to make folds and decided if the folds were inside or outside folds. Then I used a tool - this is critical to making consistent straight folds without ripping the cardboard. A shelf works great. On this and all the exterior shapes I made, I left 'tabs' on the sides so I could glue them to the main castle.
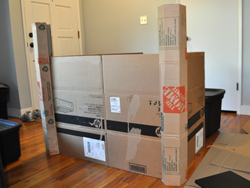
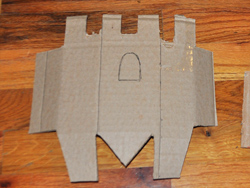
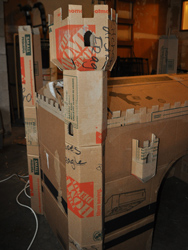
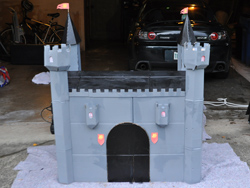
I took 3 of the largest boxes and used a hot glue gun to glue each one together when it was flat to create a double-wall, which made them very strong. Then I used two medium boxes and folded them six ways lengthwise to create the front turrets. At this point the castle can still collapse flat. I wanted additional embellishment, so I experimented with shapes to make bartisans.
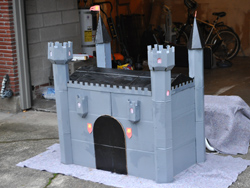
I added the bartisans to the front and larger turrets to the back. Then I cut the door out - which is rather out of proportion, but it does need to be big enough for a dragon! The castle was a bit wobbly at this point so I added some additional re-enforcement to the inside corners.
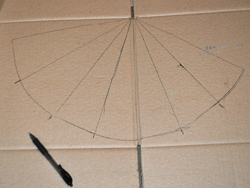
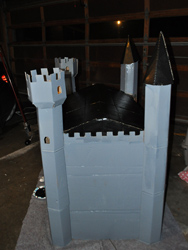
I made a roof - not quite as tall as I would have liked, but I was running low on the really strong cardboard. The roof was not attached, it just sat on top. I made a pattern for the top of the turrets and then cut out a six-sided copy.
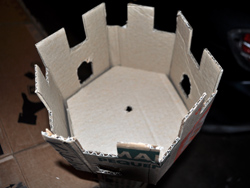
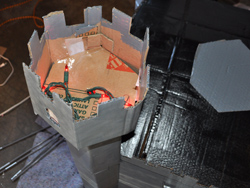
Lots of gluing now as I attached the turret tops. You can also see I cut out a few windows on the turret. Then I added a bottom to each with a hole for the lights to come up through.
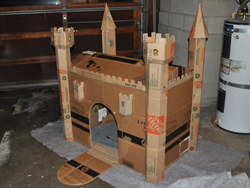
For the back turrets I wanted a fairy-tale castle pointy top, which required some trial and error. The final shape wasn't perfect but it was good enough!
It's the night before Halloween and I'm running out of time! I ran out and bought some grey and black paint. If I had it to do over again, I'd have used small square sponges to make brick patterns for more realism.
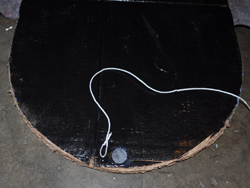
Now I pull my very bright red lights up through each turret and into the bartisan windows too. I have covered over the tiny windows with parchment paper so that only a glow can be seen. Then I affixed a strong magnet to the inside of the door and a string, so I can pull the door closed again from inside the castle.
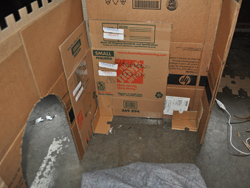
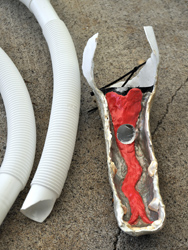
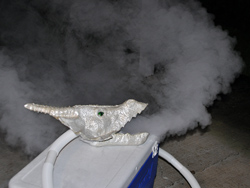
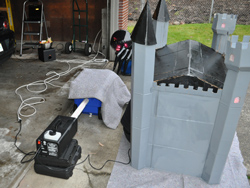
My dragon from last year gets an upgrade - a hole with a tube to blow out fog. It took a lot of trial and error to get a good amount of fog to come out - the tube needs to be wide, and the fog needs to decompress in a chamber such as the cooler seen in the second picture.
Halloween Day
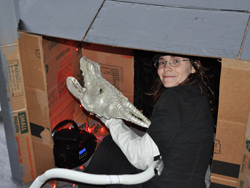
Here I am, hiding out, ready for some kids! The boombox has my dragon roar sounds CD. Behind me is my not-so-hidden setup: fog machine and fog chiller. I'm using the fog chiller as more of a fog chamber this time, since dragon breath should rise up and not cling to the ground like cold fog does.
Let's practice!
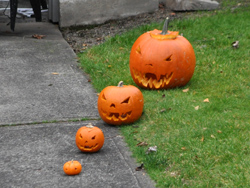
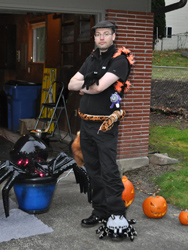
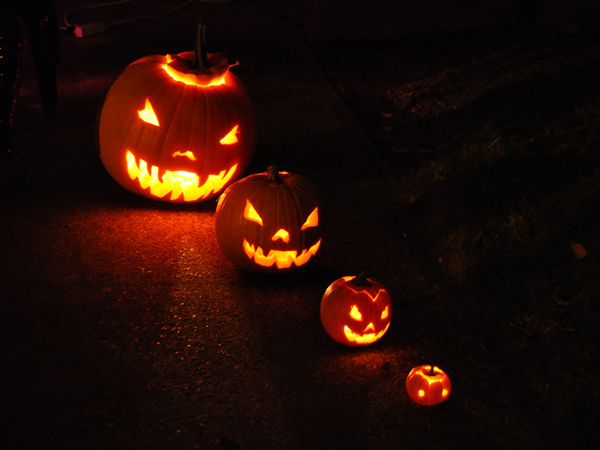
Somewhere during the day I found the time to carve up some pumpkins too! And here's my partner in crime, the designated Candyman and child wrangler, dressed up in his own unique Halloween style.
Halloween Night
And here's the nighttime experience!
Afterword
This year was a very time and budget constrained project, as we had just moved a few weeks before Halloween. I hadn't had any firm plans for this year, but sometime during the process of unpacking everything, the possibilities of cardboard dawned on me. It's a pretty amazing material: light in weight and amazingly strong when stressed in the right ways, yet easy to tear and and shape. I didn't have a pattern or plan for this project; I just started folding cardboard and went with what felt right.
Unfortunately the kids around here did not seem too impressed. I think one important factor is that the whole castle was about 3 feet tall, and the dragon only popped out and blew fog at their feet - and things that are smaller than you are not scary. Something I'll keep in mind when planning next year... :)
